Showing posts with label dessert. Show all posts

Tuesday, December 2, 2014

Thanks for Food and Family


Thanksgiving is my most favorite holiday. It's a day to be surrounded by family and food, two things I absolutely love!  There's no pressure to buy anything or wear fancy clothes. Just bring an appetite. And in my family of cooks, there's usually plenty to eat. 

For the third year in a row, we've hosted Thanksgiving at our house. I may be one of the select group of people that really enjoy entertaining. Partly because it forces me to have to clean my house, but mostly I like enjoying simple and good food in a relaxed atmosphere that I can create. No need to take your shoes off but there will be candles and real plates and glasses and hopefully lots of wine. I don't own China and probably never will. The dishes I use for dinner parties have such sentimental value. Most of the olive green dishes you might see in my pictures were my parents when they were married over 25 years ago.  The small glass bowl for the cocktail sauce was my other grandmother's. My huge salad bowl was given to me by my mother-in-law and was made in Italy. The small orange pitcher I use for cream for coffee was my Noni's when she was young. My napkin place mats were purchased at a vintage store in town. I guess I would describe my whole style, from what I wear to how I decorate, to what I cook, as "modern vintage,"combining old with new. I find it comforting I guess...


Thanksgiving is my favorite because it reminds of holidays at my Noni's house growing up. All us cousins would be there, setting the table, making pilgrim hats or playing the piano. It was a time when there was nothing to worry about, everything seemed easy... a rare occasion nowadays. Somehow about 15 people sat at my Noni's dining room table. Us kids would usually fight over who got a chair and who had to sit on the piano bench...I feel like I always ended up with the bench. Sitting in a chair just made you feel like a "big" kid so my older sisters won those. But I didn't mind much because then I got to sit with my younger cousin.

Although we're Italian, I don't remember us eating anything "traditional" Italians would have on Thanksgiving...besides my Popi's salad. No one can make a salad like he did. He'd make it with tons of red wine vinegar so you'd have the perfect amount leftover to sop up with a big fat chunk of Italian bread. He'd even sneak us a splash of wine in it too. We always had my Noni's sausage stuffing but I have to admit, that to this day, I still prefer Stove Top. And the turkey was at least 20 pounds, which I also never ate. Mashed potatoes, corn and some stuffing is all I need. Not much has changed.
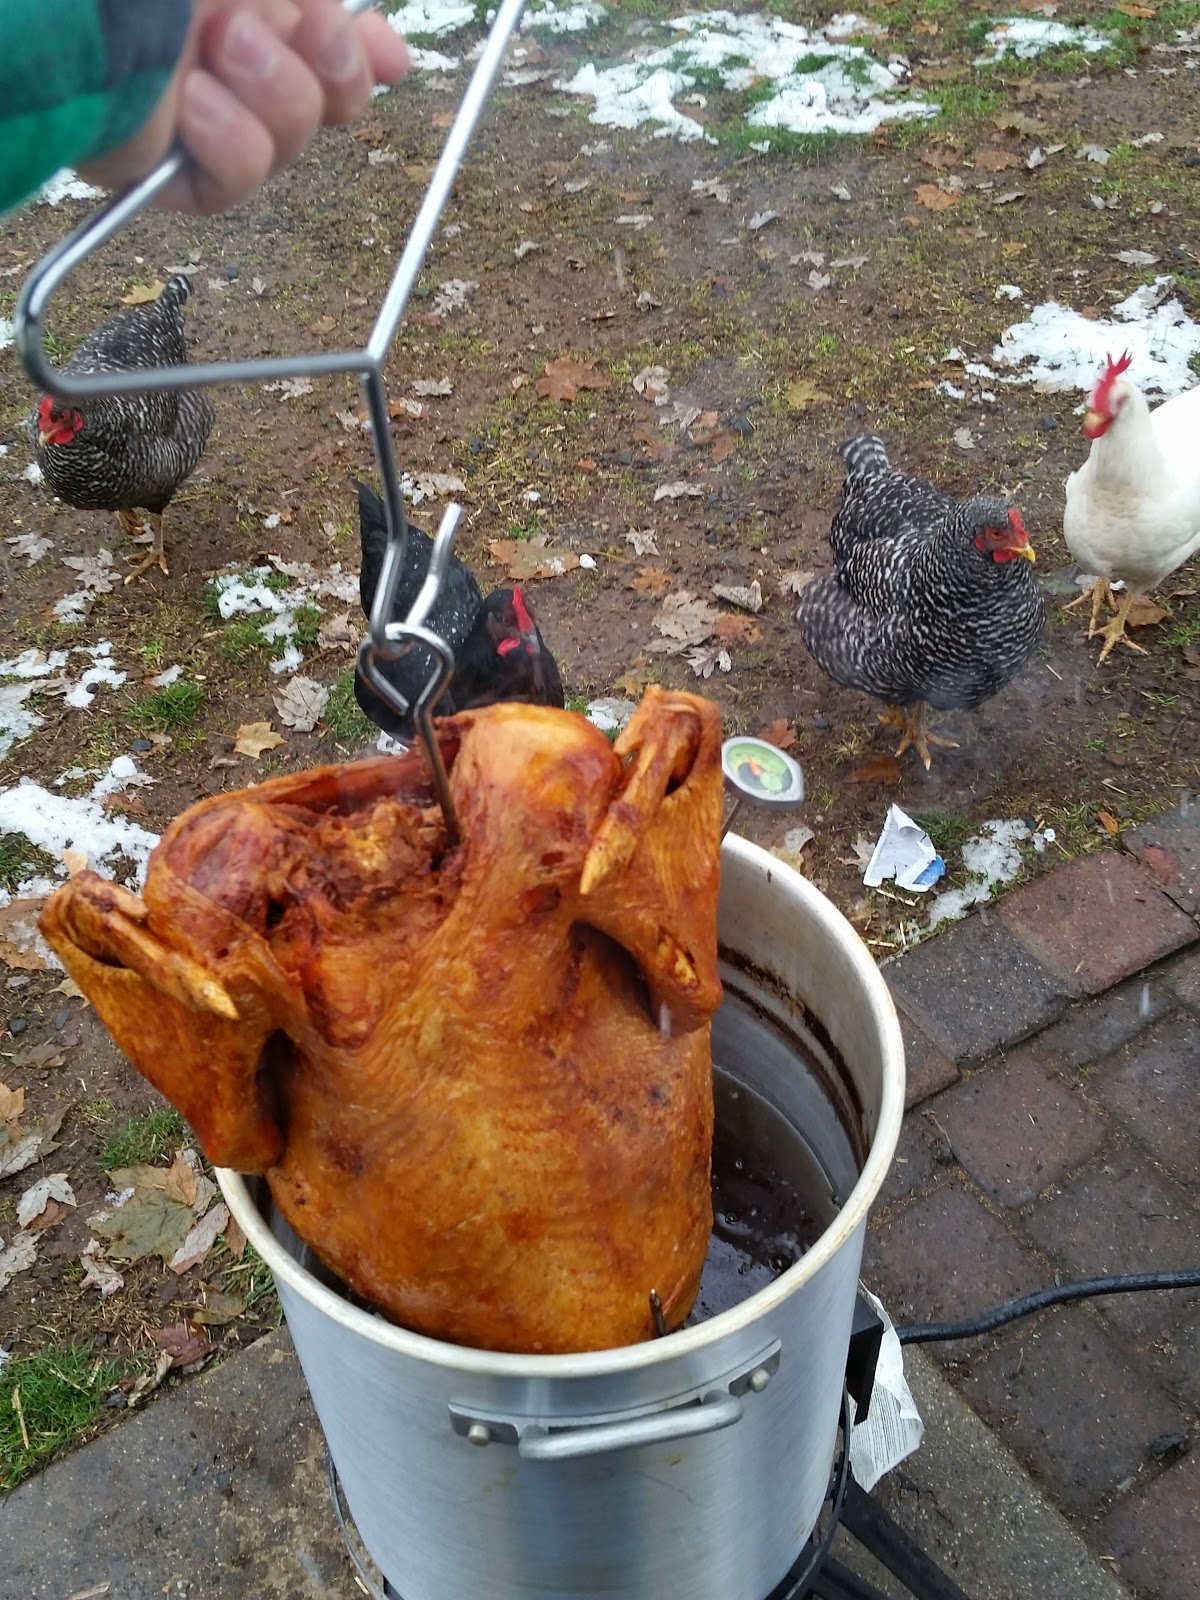
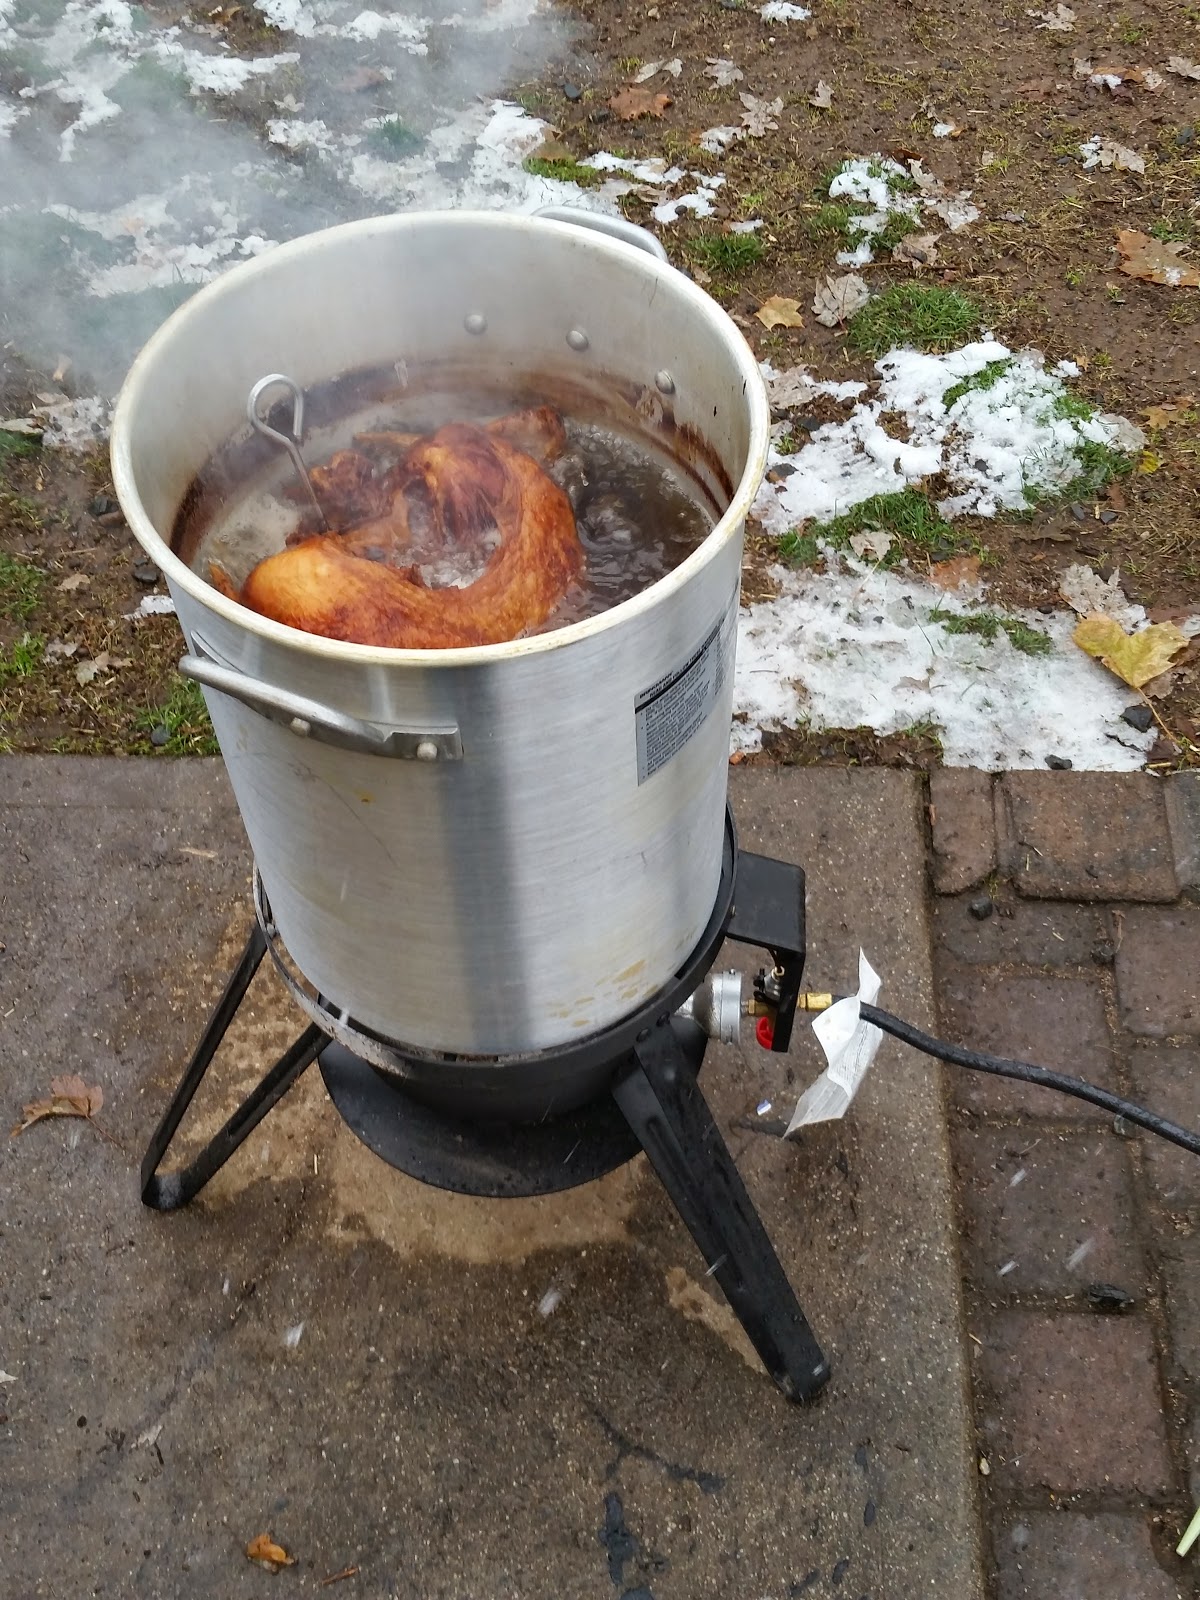

But, now that we host Thanksgiving, I get to have all my favorite foods and throw in some new dishes. We did have sausage stuffing thanks to my mother-in-law, and green bean casserole and cranberry sauce...yuck. My Noni make an amazing cranberry sauce with chestnuts, it's the only kind I'll eat. My husband fries the turkey. I take on the tedious task of making mashed potatoes since our moms got plenty other stuff to do...like make stove top stuffing for us and lots of desserts.  I tried out a few new recipes this year that I absolutely loved. So here's a few...

* I have to apologize in advance for the lack/quality of photos. Once the food was out, nothing else really mattered.

For starters...

Kale, Cranberry and Goat Cheese Salad
adapted from the Clara Persis blog
Makes 4-6 servings

  • One large bunch of kale, cleaned, ends removed and chopped
  • 1/3 cup dried cranberries
  • 1/3 cup toasted walnuts pieces
  • 1/3 cup of crumbled goat cheese
  • 3 TBS olive oil
  • 2 tsp fresh lemon juice
  • 1 tsp apple cider vinegar
  • sea salt 
Drizzle the oil, lemon juice and vinegar over the kale. Use your hands and literally massage the kale. This is super important because kale is very hearty and fibrous. The oils and acids will help break it down a bit so it is easier to eat. Raw kale makes a great salad because it doesn't get soggy like some other kinds of lettuces can be.

Sprinkle on a few pinches of sea salt.

Throw your cranberries, walnuts and goat cheese in. Carefully fold all the ingredients together coating them with the olive oil and lemon juice.

Chill for about 20 minutes and serve.
Makes for a perfect Christmas dish too! Love the colors!

I was almost disappointed having some leftover but surprisingly, it held up and was still good to eat the next day! This is my new favorite salad...until I OD on kale again.
Bloomin Onion
Makes 10 servings
  •  2 large yellow onions
  • 1 1/2 cups flour
  • 1/2 tsp paprika
  • 1/2 tsp garlic powder
  • 1/2 tsp cumin
  • 1/2 tsp pepper
  • 1 bottle of good beer, think we used Sam Adams Boston 
  • oil for frying
Prep your onions. You want to cut off a small part of both ends so it can stand. Then, you need to cut almost completely through the onion about 1/4 inch from the bottom. Do this at least 8 times. You should end up with about 16 sections. Here's a link WITH PHOTOS, since I forgot. 

Carve out a hollow part right in the middle. This will allow the batter to seep through.
I also dropped mine in boiling water for about 2 minutes to soften it up a little so the pieces would spread apart easier.

Combine your dry ingredients. Then add your beer. The batter should be similar to pancake batter but if you find it's a little thick, add some water.

Coat you onion really well in the batter then drop it in the oil. Since we already had hot oil from frying the turkey, this was pretty easy.

Shrimp cocktail is a must. Always serve over ice!
Let the onions swim around for a few minutes, moving it around so it cooks all the way. It should only take maybe 6-8 minutes til its nice and golden brown. 


Serve with this dipping sauce that tastes even better than Outback's. 


1/2 cup mayo
1/4 cup ketchup
2 tbs A-1 sauce
1/4 tsp garlic powder
2 TBS horseradish

Combine all ingredients and refrigerate til ready to serve.

This thing didn't even have a chance for a cameo it went so fast!


Now onto dessert...normally we would have sweet potatoes with brown sugar but I always feel guilty eating double doses of potatoes. So, why not turn your typical sweet potatoes with marshmallows into dessert?! Even better... a bread pudding.

Sweet Potato Bread Pudding 
Adapted from Rachel Cooks
Makes 8-10 servings
  • 2 medium sized sweet potatoes, should be about 1 1/2 cup mashed
  • 2 1/2 cups milk
  • 4 eggs
  • 1 1/2 tsp vanilla
  • 1 tsp nutmeg
  • 1 tsp cinnamon
  • 1 cup brown sugar 
  • 1 1/2 loaves of cinnamon swirl bread, cubed
  • 1/2 stick of butter
  • 1 bag mini marshmallows
Preheat your oven to 350.
For this recipe, I cooked my potatoes in the microwave. It has a magical "potato" button on it that works perfectly.  Once they're done, cut them in half and just scoop out the flesh and mash.

In a greased 9x13 inch baking dish, spread out half of your bread. Spoon your mashed sweet potatoes on top then layer with bread again.

In a separate bowl, mix all your other ingredients. Pour on top of the bread. Use your hands to push down the bread so it gets a chance to soak up some liquid.

Bake for about 45 minutes until most of the liquid is gone.

Top with mini marshmallows and broil until just golden brown...aka don't shut the oven and walk away! Doing all these things made my kitchen a little chaotic and I ended up putting the bag of marshmallows on my hot burner, which resulted in the bag opening up once I realized the burner was hot and releasing tons of mini marshmallows that ended up at the bottom of my, also hot, oven. Thank you to my husband for cleaning them up immediately because honestly at that point, I didn't even care. They would've burned off eventually right? 
Serve warm and toasty.


I'm so very thankful to have spent another Thanksgiving with my family, although there were a few important people that couldn't make it. Looking forward to next year and many more to come!

Thank You. 


Monday, November 17, 2014

Happy Birthday to Me!

I like to bake. I originally made this blog with the intentions of sharing lots of baking recipes however, I cook more than I bake. Though it would fantastic to live off cupcakes, pies and pastries, I gotta eat veggies and meat sometimes. But since this weekend was my birthday, I figured I would bake myself a cake. Paired with my mother-in-law's meatloaf, this made for an excellent birthday dinner. Yes, the traditional ol' loaf of meat is one of my all time favorite dinners...and I eat it with ketchup.

One of my other favorites things to eat is chocolate covered cherries. Why not make this into a cake form? I'm not so much a huge chocolate fanatic, unless its combined with fruit.  Not sure exactly you can call maraschino cherries fruit but you get my point. Besides, I'm allergic to the real deal. A very rare occasion where I prefer a canned "fruit" smothered in high fructose corn syrup and artificial coloring over the made-from-scratch recipes that I base my whole cooking style on.

I've tried several times to recreate the canned cherry filling and I just can't find anything close to it. I've used the real cherries, took time to pit them all, resisting the urge to pop one in my mouth...I have this genetic allergy where I get super itchy in my mouth and throat if I eat fresh fruit with skin on it, but if it's cooked, I'm good.  It's just not the same as the bright red, thick blobs that come out of a can, sorry to admit.

Mind you, I also do not typically bake cakes. Cupcakes are definitely my thing. They're just easier to make and eat. And don't take so much precision and patience.  When I was about ten, I took a cake decorating class that I absolutely loved, except when at the end of class the teacher let everyone stick their fingers in the bowl to lick the frosting. Double dipping at its finest. You might as well just stick your whole mouth in the bowl! It always grossed me out so I only got one taste.  But to this day, I use those skills I learned to make the few cakes I do bake. Thank you Girls, Inc.

The most important thing to do when baking is to FOLLOW THE DIRECTIONS EXACTLY! I tried lots of substitutions and shortcuts only to have total disasters. Baking is a science and every ingredient interacts differently. There is a reason you need to cream your butter and sugar. There is a reason you don't just dump your flour and milk into the bowl together.  So please, follow the directions and measure precisely. Here's a link from Chatelaine about more tips for baking the perfect cake.


Chocolate Cherry Cake with Cream Cheese Frosting
Serves about 15-20 people
Makes 2, 8 inch rounds, one 9x13 or 24 cupcakes

For the Cake:
Adapted from Betty Crocker
  • 2 cups flour
  • 2 cups sugar
  • 2/3 cocoa powder ( I use Hershey's)
  • 1 tsp baking powder
  • 3/4 tsp baking soda
  • 3/4 cup butter, softened
  • 1 1/2 cup milk
  • 2 tsp vanilla
  • 4 eggs
Preheat your oven to 350.


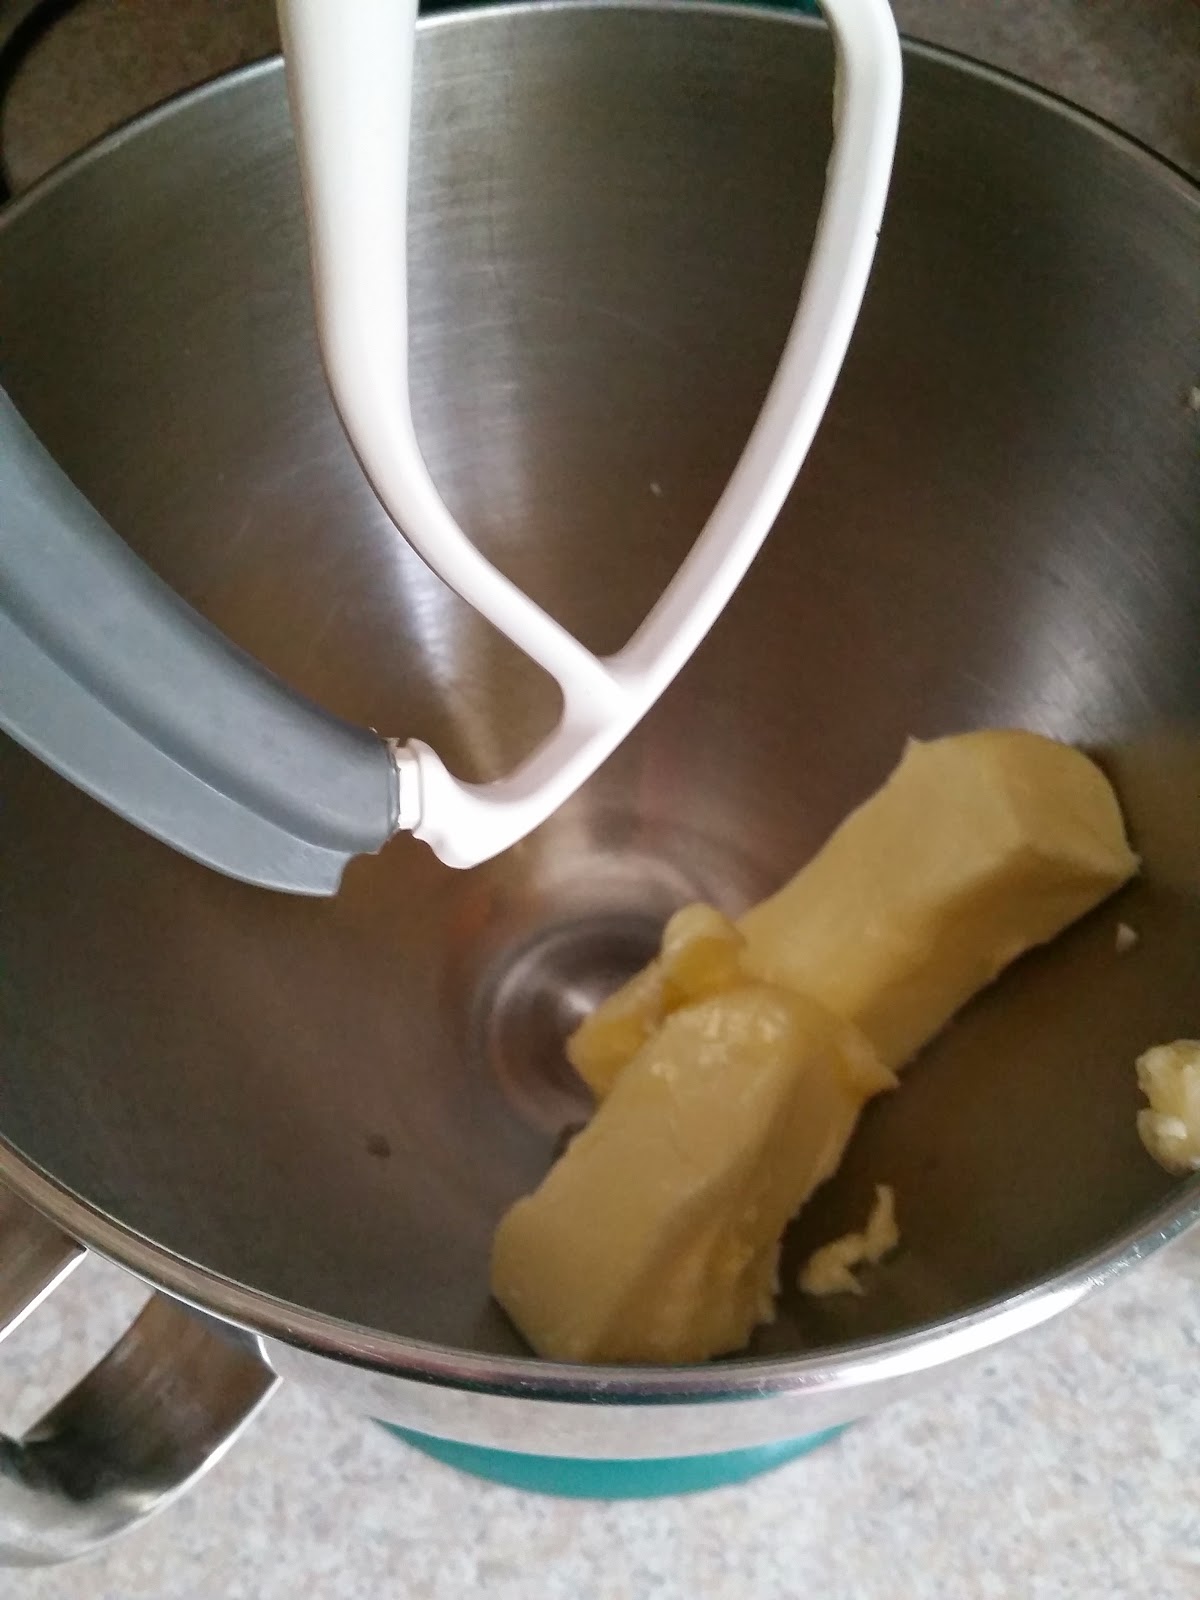
Cream your butter and sugar for about 5 minutes scraping down the sides of the bowl to incorporate completely. *I recently did a lot of reading about creaming times. There's a whole amazing science behind it. Read it here. 
Meanwhile, combine your dry ingredients in a bowl. I use a sifter for the cocoa powder because its pretty thick in comparison to the flour. But if you don't have a sifter, make sure you whisk it really well.

Add one egg at a time to your butter and sugar once its been creamed. Then add your vanilla.


With the mixer on low, add about a third of your flour mixture and then a third of your milk. Repeat untill everything is combined. But don't let it mix for too long. Over mixing will result in a very dense cake. I would say 2 minutes is too long once the flour and milk are in the bowl.

Use a rubber spatula to fold in any remaining clumps of flour or butter at the bottom.


 In a parchment lined or greased baking round baking dish, pour your batter and divided it equally between the two. I've gotten pretty good at eyeballing this.

To get any air pockets out of the batter, lightly bang the bottom of the cake pan on your counter. This will also help the batter spread out evenly, since it can be a bit thick.


Put it in the oven and bake for about 20-25 minutes or until a knife comes out clean.
Set aside to cool completely. 

Now for the filling...
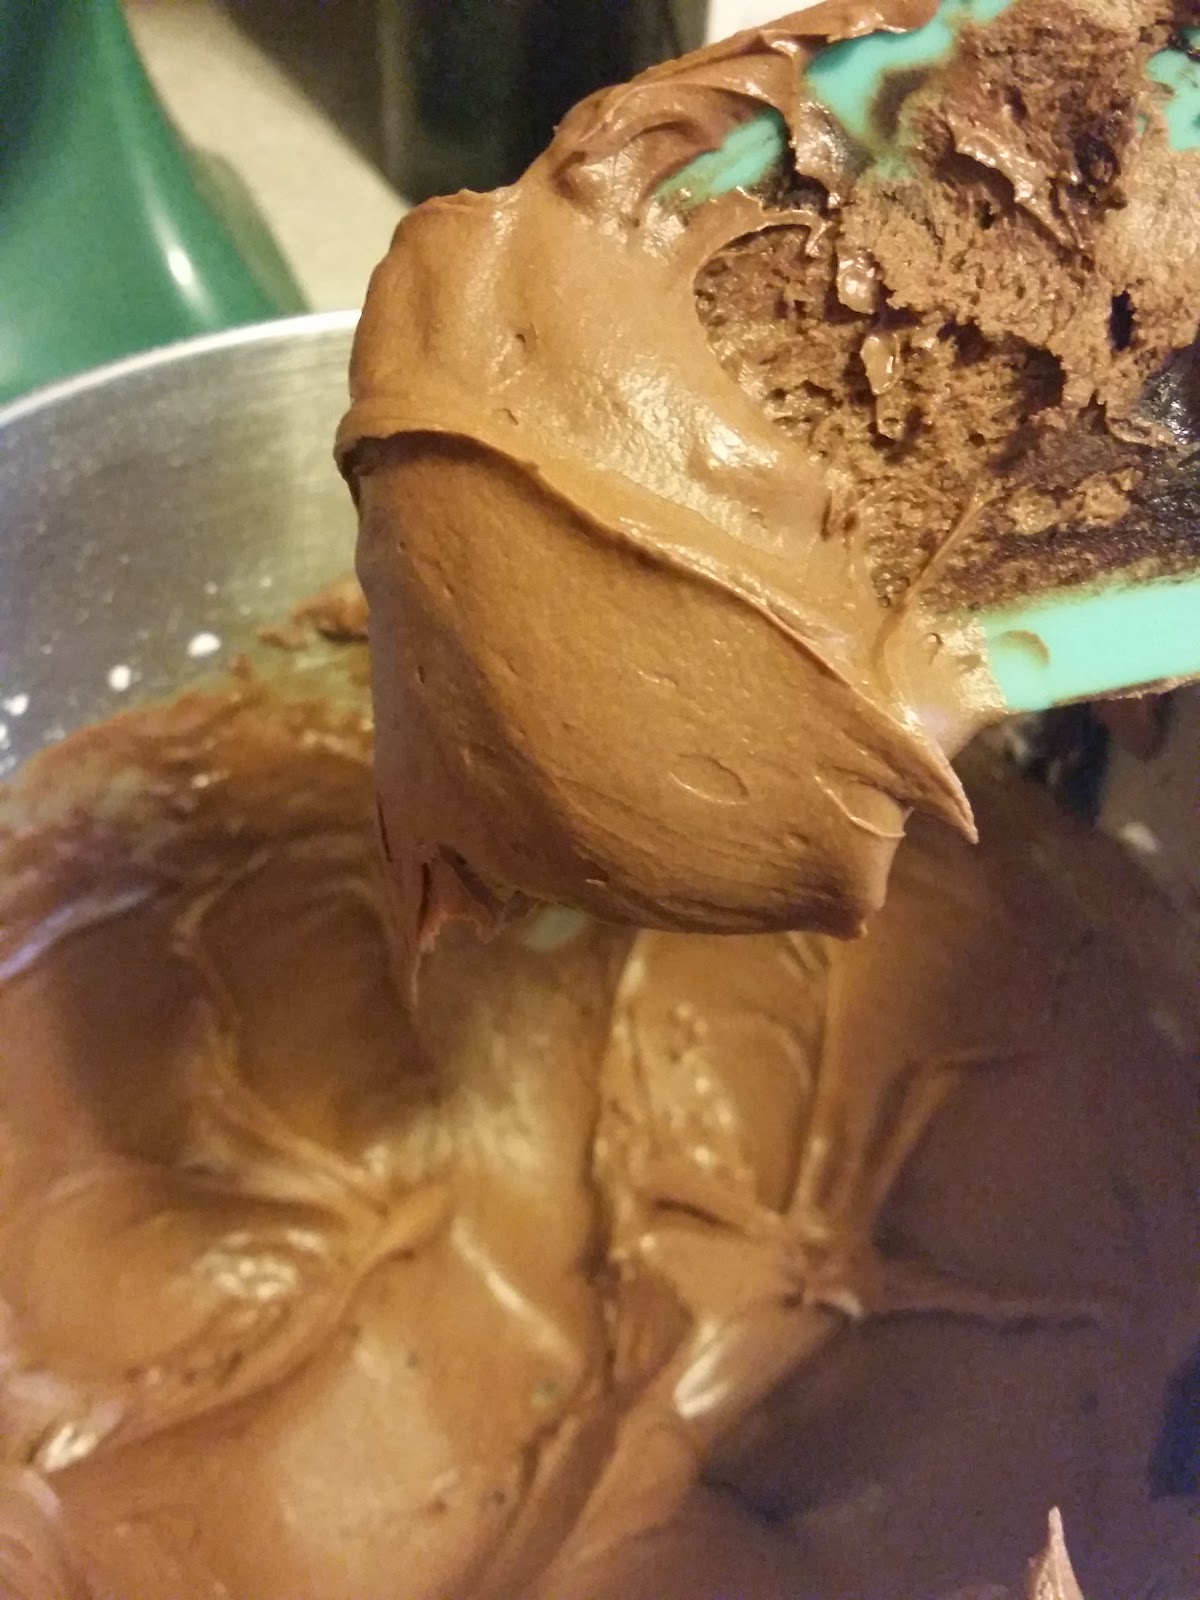
Not only did I fill this cake with cherry pie filling but I surrounded it with Hershey's Chocolate Fudge Frosting...it's the recipe on the back label...and it is the best chocolate frosting I've had, ever. If you use a box mix for the cake, at least make this frosting. It's too damn easy and so damn good.

Hershey's Chocolate Fudge Frosting
  • 1 stick of butter, melted
  • 2/3 cup of cocoa powder
  • 1 tsp vanilla
  • 1/3 cup of milk
  • 3 cups of powdered sugar 
I melt my stick of butter in a glass pyrex measuring cup, then add my cocoa powder. Stir together. It will be a really thick chocolate paste. As tempted as you may be to try to it, don't! It contains zero sugar so tastes really bitter.

Add this to your mixing bowl. Add your vanilla and beat away. I alternate adding my sugar and milk so I get the right consistency. I taste it often to see if it needs more sugar or not. Sometimes I add a bit more milk if I need a smoother frosting. *Unlike making a cake batter, you can beat the hell out of frosting, as my mom would say. The compliments I usually get on my cupcakes are always about the frosting. The key is real butter, I use salted, and whipping it for a while on high.

For the outside frosting I made cream cheese. My other favorite dessert is cheese cake with cherries so of course I had to find a way to fit it in too.

Cream Cheese Frosting
  • 1 package cream cheese, softened
  • 2 1/2 stick of butter, softened
  • 3-4 cups powdered sugar
  • 2 tsp milk
  • 1 tsp vanilla
Make sure your cream cheese is just as soft, if not softer than your butter. If the cream cheese is too firm, you'll end up with chunks of it in your frosting.
Beat the cream cheese first, making sure it's smooth enough.
Add your butter in smaller quantities, about 3 tablespoons at a time to let it incorporate with the cream cheese.  Once it's all combined, add the vanilla. Alternate your sugar and milk until you get the taste and consistency you like.

Now the hard part...assembly...

You can use the cakes just as they are, or trim them to make them more level. I did not trim them but next time, I would. The filling oozed out a little on the sides, making it difficult to frost.

Whichever cake I use for the bottom, I turn it upside down so the flattest part will be the middle. I frosted a thin layer of the chocolate fudge frosting, then added the cherry filling.


For the top part of the cake, I frosted the top of it so the flattest part would be the very top of my cake. I turned this upside down so the chocolate frosting was face down on top of the cherry filling.

Any excess chocolate frosting I used around the sides to help hold the cherries in place.

For the final frosting on the outside, I dumped a huge pile of the cream cheese frosting in the center of the cake. A long thin frosting knife will work best for this. When frosting, don't move our knife side to side! Always frost in the same direction or you will end up "picking up" your cake and it will get crumbly.


You want to carefully push the frosting from the middle of the cake to the outer edges. I spin mine as I go. There's no need to go back and forth, just rotate the cake keeping the knife steady as you carefully push the frosting towards the edge.

Once you're happy with the top, start pushing the frosting down the sides of the cake, always rotating it. Just keep spinning the cake holding your knife steady, staying in the same direction. Don't worry if it doesn't look perfect! We're gonna cover the sides up with graham cracker crumbs anyways! Any imperfections can be creatively "covered up."

If you want to have a really smooth top to your cake, the one important trick I learned "way back when" in cake decorating class was to use a hot knife.  You can either keep a tall glass filled with hot water or just run your knife under hot water to heat it up. Wipe it dry and go over your cake again, using the same rotating motion. The heat from the knife slightly melts the frosting to make it smooth as silk.


I love to incorporate graham crackers for an extra crunch. Just smash some in a ziploc baggies and throw against the sides of your cake. Or you can put some in your hand and pat it on, but throwing it is just so much more fun and messy.

I had some extra cream cheese frosting I piped on along with some cherries.

Wipe down the edges of your cake dish and refrigerate until you're ready to eat!


Happy Birthday to Me!

Tuesday, October 28, 2014

Homemade Apple Fritters

Every year since I can remember, I've gone to the Apple Festival. People don't go there for the rides or the crafts. They go for the apple fritters. I'm sure I've spent hours waiting for these things, which I honestly don't mind at all since they are after all, the best apple fritters. Ever. These people got it down to a science, and a really well organized assembly line.  The result is a perfectly round, warm, sugar coated, toasty-on-the-outside, soft and moist on the inside, melt-in-your-mouth, ball of diced apple and cinnamony sweet dough.


Yep. It's definitely worth waiting for.  One year, my husband and I got THE last batch of fritters, after waiting hours in line of course. We walked away clutching our white, greased stained paper bags in our arms like it was a million dollars, then devoured half of them in the way back to the car. You really should eat these right away. If not, they lose their nice crispy outside.

This year, I missed it. Sigh. But, I did go apple picking. And was having guests over for dinner. Though lucky for me, I didn't actually have to make dinner. My sister, who went to culinary school, came over on an extremely rare occasion and cooked us an amazing dinner that I cannot do justice by describing with words. She grills a mean steak. So I knew I'd have plenty of time to make fritters and guests to eat them.
Filet with Gorganzola Cream Sauce and Sauteed Portobello Mushrooms served with a Side of Fingerling Potatoes and Roasted Brussel Sprouts


Apple Fritters                              

adapted from Seemingly Greek
Makes about a dozen
  • 1 heaping cup of flour
  • 1 tsp vanilla
  • 1 egg
  • 1/3 cup milk
  • oil for frying (I use canola)
  • 3 apples, diced should come out to about a cup
  • cinnamon and sugar mixture for coating
  • 1 tsp baking powder
  • 1/2 cup sugar
  • 1/4 tsp allspice
  • 1 1/2 tsp cinnamon

Combine your dry ingredients, minus the extra cinnamon/sugar. Fold in your apples. This tends to help them stay in place.

Combine your milk, egg and vanilla. Carefully add to your flour/apple mixture.

In a medium sized pot over medium heat, pour enough oil so it come up about 3 inches. Heat up to 365 degrees.  If you don't have a thermometer to gauge this, just test it out with a tiny amount of batter. When it's hot enough, it will sizzle instantly.

When the oil is ready, use a mini cookie dough scoop to plop the batter into the oil. If you don't have one, a tablespoon should work good too.

Be careful not to over fill your oil so the fritters have enough room to cook.  They may need to be "flipped" while they fry using a slotted spoon.

Once they are nicely golden brown, transfer them to a paper towel lined plate to absorbs any excess grease.


Right away roll them in your cinnamon and sugar mixture. You can probably use a big ziploc bag for this too or a deep baking dish.

Serve warm or with a piece of chocolate cheesecake after an amazingly delicious meal your sister just cooked. I mean that's what I did....


No need to wait in line anymore.

You're Welcome.

Tuesday, August 19, 2014

A Berry Delicious Pie

I forgot how much I love pie. The only time I eat and sometimes even make it is at which happens to be my all time favorite holiday. I also forgot how much I love making pies. Most people probably buy the pre made frozen pie crust but don't realize how much better a homemade one is. Yes, it can be a bit of a pain in the ass and is an extra step but how impressive is it to be able to present a perfectly crimped pie crust that tastes even better than it looks.
Thanksgiving...

I got my pie baking skills...sorry in advance mom...from cooking class in high school. My teacher was a bit of a Martha Stewart meets Hitler.  We had to do over our crusts til we got it right. Luckily it didn't take me too long and I became pretty good at it...until I met my husband. He's a bit of a perfectionist and he would definitely beat out my pie primping skills, after a few tedious hours of getting it just right. :)

So I had all these berries...some were fresh, some were frozen. I was supposed to make jelly but just never got around to it, plus my Noni keeps giving me hers so why make my own!  I've been thinking about pie since the summer. Everyday I would pass a Sixpence Pie Company and never got the chance to go in. Got some good berries from the grocery store on sale, so those mixed with the ones I froze a few weeks earlier will be my quadruple berry pie...strawberries, blueberries, blackberries and raspberries. I just love berries, especially since I'm allergic to mostly every other fruit that has skin.

This is a super easy recipe so taking the extra step to make the pie crust is definitely doable. And it only takes 4 ingredients and a little bit of elbow grease.


Four Berry Pie

Makes one 9 inch lattice top pie

Pie crust:
  • 2 1/3 cups all purpose unbleached flour
  • 1 1/2 sticks of butter, salted
  • 2 tsp sugar
  • 8-10 teaspoons ice water 
Combine your flour and sugar in a bowl. Cut up your sticks of butter into smaller chunks. They should be almost right out of the fridge, not softened!


Using a pastry cutter, "cut" your butter into the flour until it is broken down into pea sized bits. The mixture should be crumbly. If you don't have a pastry cutter, you can also use a fork or even your food processor. I like to get my hands directly in the dough so I can feel how big the chunks of butter are...not too big, not too small. This is the most important part in making a light and flaky pie crust!


When you have your desired consistency, slowly add a few teaspoons of water at a time and incorporate into your flour. As soon as the dough begins to stick together, dump it out on a large wooden board and form your balls!


I separated mine into two, one larger for the crust and one smaller for the lattice top. Secure in saran wrap and refrigerate for about 20 minutes while you prep the filling.


Filling:
  • 5 cups berries...I think I used about 2 cups of strawberries, 1 1/2 cups blueberries and maybe 3/4 cup each of raspberries and blackberries. I'm terrible with measuring but amazing when it comes to "eyeing it."
  • 1/2 cup flour... I altered this from the original recipe in my trusty ole Betty Crocker cookbook since I used more strawberries. They have a bit more moisture so I increased the flour.
  • 3/4 cup sugar
  • Sprinkle of cinnamon
  • Juice of half a lemon
Now throw all your ingredients in a bowl and combine. That's it!  Back to the pie dough...


Assembly:

Preheat your oven to 375 degrees.

When you're ready to put your pie together, place your dough on a lightly floured wooden board. Flour up your rolling pin. Roll out your dough, constantly rotating it to get a nice size circle. Your dough should be about 1/4 inch thick. Use your pie dish to help figure out if the circle is big enough.


 To transfer your dough to the pie dish, roll it up half way around your rolling pin. Carefully hover over your dish and unroll it. Although I love ceramic dishes since they're so pretty, I use a glass one because you can see through the bottom and check how done your pie is.


Gently push the edges into the bottom of the pie dish. Trim off excess leaving about 1/2 inch hanging over the edge of the dish. Save the scraps for later!

Fold and tuck it underneath to give it smooth edge. Then crimp away! One thumb should be on the inside part of the crust and your opposing thumb and pointer finger should be on the outside.  Gently push them towards each other making an indent in the dough, all the way around the pie. I tend to do it at a little bit of angle.


Use a fork to poke some holes in the bottom of your crust. This will allow any steam to escape and result in a cooked bottom instead of a soggy one.

Dump your filling in the crust and spread around evenly.

Roll out your second pie crust for the lattice top. I have a neat little cutter I use to make a nice edge but a pizza cutter works too! I cut mine about 1 inch thick.


Lay about 4 or 5 of them across the top of your pie. You want to weave the other ones in the opposite direction, alternating over/under.

Trim off the excess and fold and tuck the edges into the crust the best you can.

To get a nice golden top, you can brush it with milk or an egg wash. Sprinkle a little bit of cinnamon and sugar on top if you'd like and pop it in the oven with a pan underneath to catch drippings.


I leave the crust uncovered for the first twenty minutes, then wrap it in foil so it doesn't burn. I peak on it constantly and remove the foil towards the end of baking. I also bumped up the temp to 400 degrees after about 40 minutes. Baking times will vary but that's why it helps to have a glass bottom dish.  You want a light golden top.

Oh and those scraps from the pie crust! Sprinkle with some cinnamon and sugar and throw on a cookie sheet and bake too! Put them on ice cream or just eat as they are!


The only thing this pie is missing is whipped cream...

While it's baking, whip up some fresh whipped cream. I use my hand held immersion blender or my kitchen aid...about a cup of heavy cream and a cup or so of powdered sugar with a squirt of vanilla.


You're Welcome.

Wednesday, April 30, 2014

30 Days of Grilled Cheese...Damn right I did

I had no intention of taking on a task like this. But, on March 31st, when I read the following day would be the official start to an entire month dedicated to everyone's favorite comfort food, I gladly accepted the challenge..brought on by my husband. I think it was a secret ploy to get me to make him somethings he loves everyday. 

~Day 1~
Tomato and American Cheese with a side of yellow mustard on Whole Wheat...my go to favorite


~Day 2~ 
Caramelized Onions, Cream Cheese, American, Cheddar and Mozzarella on Whole Wheat


~Day 3 ~ 
Cheddar Cheese, Bacon and Fresh Pineapple on Potato Bread...Hawaii Throw Back


~Day 4 ~ 
Mediterranean Grilled Cheese with Feta Cheese, Roasted Red Peppers 
and Spinach on Vienna Bread


~ Day 5 ~
Turkey Club with Bacon, Avocado, Tomato and American Cheese on Whole Wheat Potato


~ Day 6 ~ 
Quesadilla Grilled Cheese with Avocado, Cheddar Cheese, Tomato, Cilantro, 
Hot Pepper Relish and Cholula on a Multi grain Wrap


~ Day 7 ~
 Pizza Grilled Cheese with Ricotta, Parmagiana , Mozzarella, Provolone and Pepperoni 
on Italian Bread with a side of homemade marinara sauce


~ Day 8 ~ 
Grilled Cheese with Cheddar, Bacon and Apple Slices


~ Day 9 ~
Muffelatta inspired Grilled Cheese with Pepper Ham, Salami, Provolone, 
Green Olive Tapenade and Roasted Red Peppers on Onion Rye


~ Day 10 ~ 
Grilled Cheese with Spinach, Artichokes, Provolone and Asiago Cheese on
  Whole Wheat Potato Bread


~ Day 11 ~ 
Grilled Cheese with Swiss Cheese and Ham on Onion Rye with Coarse Ground Mustard


~ Day 12 ~
 Cuban inspired Grilled Cheese with Ham, Cheddar, Green Olives on Italian Bread
My favorite grilled cheese!


~ Day 13 ~ 
Veggie Grilled Cheese with Feta, Avocado, Roasted Red Peppers and 
Hummus on Italian Bread


 ~ Day 14~ 
Buffalo Chicken Grilled Cheese with Shredded Chicken, Frank's Red Hot, 
Cheddar and Blue Cheese Crumbles


~ Day 15~ 
Jalapeno Popper Grilled Cheese with Cheddar, Cream Cheese, 
Chipotle Gouda and Fresh Jalapenos


~ Day 16 ~ 
Caprese Grilled Cheese with Fresh Mozzarella, Tomatoes, Fresh Basil and
 Balsamic Drizzle on Italian Bread


~ Day 17~
Loaded Baked Potato Grilled Cheese with Homemade Sour Cream Mashed Potatoes,
Cheddar Cheese and Bacon


~ Day 18~ 
Chicken Ranch Grilled Cheese with Sauteed Red Onions, Cheddar Cheese,
Ranch Dressing and Bacon on Rye


~ Day 19 ~
BBQ Chicken Grilled Cheese with Cheddar Cheese and Sweet Baby Ray's


~ Day 20 ~ 
Mac n' Cheese Grilled Cheese with Chipotle Gouda and Swiss Cheese


~ Day 21 ~ 
Loose Meat Grilled Cheese with Sauteed Onions and Mushrooms, Ground Beef, 
5 Cheese Beschamel Sauce, topped with Chipotle Gouda and Mayo
This was my husband's favorite. Kinda tasted like hamburger helper!


~ Day 22 ~
 Grilled Cheese with Homemade Pesto, Tomato and Four Cheese Blend on Italian Bread


~ Day 23 ~ 
Reuben Grilled Cheese with Roasted Turkey, Sauerkraut,
Homemade Thousand Island Dressing and Swiss Cheese on Marble Rye


~Day 24 ~
Pulled Pork Grilled Cheese with Pepper Jack and 4 Blend Cheese on Multi grain Whole Wheat


~Day 25~ 
Grilled Cheese with Fresh Strawberries, Brie, Bacon Crumbles and Honey on Wheat Bread


~ Day 26 ~ 
Grilled Cheese with Tiramisu Marscapone, Fresh Raspberries and
Dark Chocolate Ganache on Sweet Bread
My favorite dessert one!


~ Day 27~
Grilled Cheese with Cream Cheese, Peanut Butter and Chocolate Chips on Sweet Bread


~ Day 28~
 Grilled Cheese with Marscapone and Ricotta Cannoli Filling with
Chocolate Chips on Sweet Bread


~Day 29~ 
Grilled Cheese with Goat Cheese, Noni's Homemade Peach Preserves and 
Brown Sugar on Sweet Bread


~ Day 30 ~
 Grilled Cheese with Goat Cheese, Nutella and Banana Slices on Sweet Bread
This was my husband's favorite dessert one!

I didn't include any recipes for these since I figured they're all pretty self explanatory. But if you want to know anything more about assembly or ingredients, just ask! The most important tip I can offer when it comes to grilled cheese is to thoroughly butter your pan. Do not use a cooking spray! I have to give my husband credit for this technique. Take a stick of butter and unwrap a little bit of one end. Use it directly on the pan, which should be at medium low, to evenly and lightly coat it with the perfect amount of butter. Always repeat before flipping to get a nice toasty brown top and bottom. If you have a thick sandwich, you may want to put some weight on it using a plate.  If the cheese is not as "melty" as you would like, just pop it in the microwave for about ten seconds. Just don't burn your grilled cheese and take pictures of it then post them on instagram.

You're Welcome.