One of my other favorites things to eat is chocolate covered cherries. Why not make this into a cake form? I'm not so much a huge chocolate fanatic, unless its combined with fruit. Not sure exactly you can call maraschino cherries fruit but you get my point. Besides, I'm allergic to the real deal. A very rare occasion where I prefer a canned "fruit" smothered in high fructose corn syrup and artificial coloring over the made-from-scratch recipes that I base my whole cooking style on.
I've tried several times to recreate the canned cherry filling and I just can't find anything close to it. I've used the real cherries, took time to pit them all, resisting the urge to pop one in my mouth...I have this genetic allergy where I get super itchy in my mouth and throat if I eat fresh fruit with skin on it, but if it's cooked, I'm good. It's just not the same as the bright red, thick blobs that come out of a can, sorry to admit.
Mind you, I also do not typically bake cakes. Cupcakes are definitely my thing. They're just easier to make and eat. And don't take so much precision and patience. When I was about ten, I took a cake decorating class that I absolutely loved, except when at the end of class the teacher let everyone stick their fingers in the bowl to lick the frosting. Double dipping at its finest. You might as well just stick your whole mouth in the bowl! It always grossed me out so I only got one taste. But to this day, I use those skills I learned to make the few cakes I do bake. Thank you Girls, Inc.
The most important thing to do when baking is to FOLLOW THE DIRECTIONS EXACTLY! I tried lots of substitutions and shortcuts only to have total disasters. Baking is a science and every ingredient interacts differently. There is a reason you need to cream your butter and sugar. There is a reason you don't just dump your flour and milk into the bowl together. So please, follow the directions and measure precisely. Here's a link from Chatelaine about more tips for baking the perfect cake.

Chocolate Cherry Cake with Cream Cheese Frosting
Serves about 15-20 people
Makes 2, 8 inch rounds, one 9x13 or 24 cupcakes
For the Cake:
Adapted from Betty Crocker
- 2 cups flour
- 2 cups sugar
- 2/3 cocoa powder ( I use Hershey's)
- 1 tsp baking powder
- 3/4 tsp baking soda
- 3/4 cup butter, softened
- 1 1/2 cup milk
- 2 tsp vanilla
- 4 eggs
 Preheat your oven to 350.
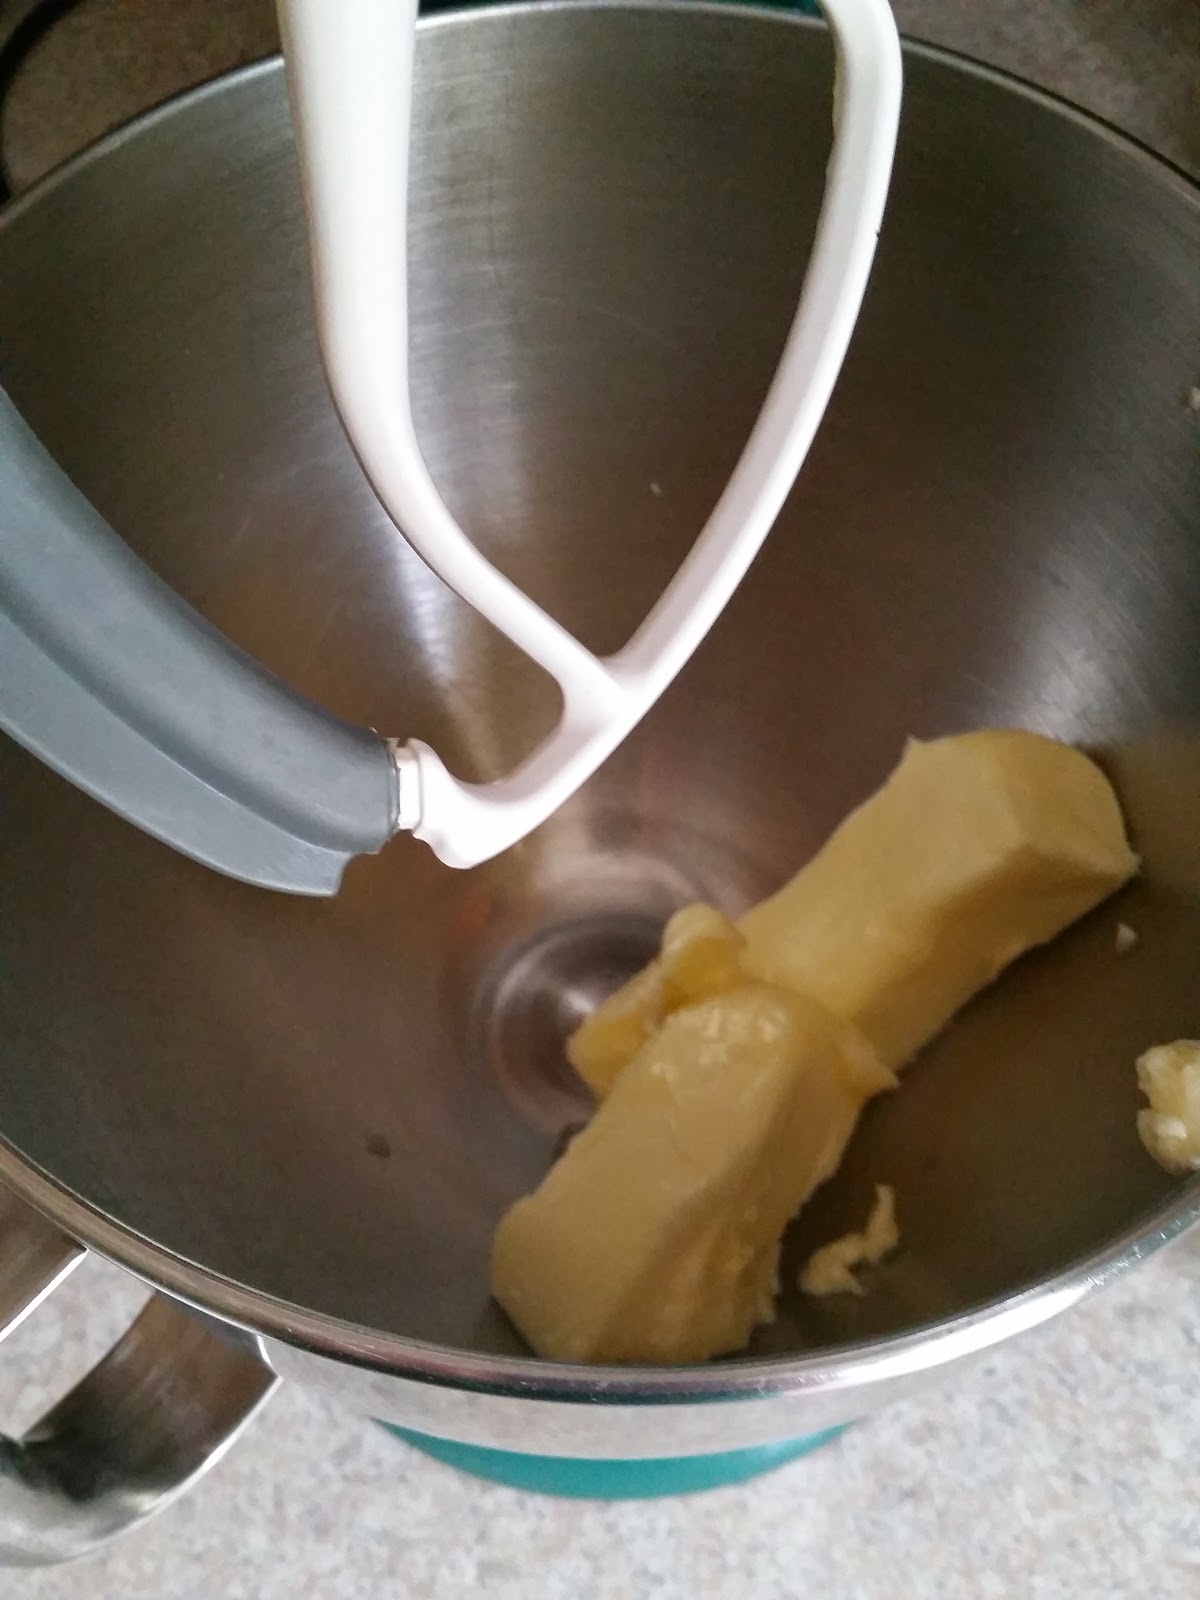
Cream your butter and sugar for about 5 minutes scraping down the sides of the bowl to incorporate completely. *I recently did a lot of reading about creaming times. There's a whole amazing science behind it. Read it here.
Meanwhile, combine your dry ingredients in a bowl. I use a sifter for the cocoa powder because its pretty thick in comparison to the flour. But if you don't have a sifter, make sure you whisk it really well.
Add one egg at a time to your butter and sugar once its been creamed. Then add your vanilla.
With the mixer on low, add about a third of your flour mixture and then a third of your milk. Repeat untill everything is combined. But don't let it mix for too long. Over mixing will result in a very dense cake. I would say 2 minutes is too long once the flour and milk are in the bowl.
Use a rubber spatula to fold in any remaining clumps of flour or butter at the bottom.


In a parchment lined or greased baking round baking dish, pour your batter and divided it equally between the two. I've gotten pretty good at eyeballing this.
To get any air pockets out of the batter, lightly bang the bottom of the cake pan on your counter. This will also help the batter spread out evenly, since it can be a bit thick.

Put it in the oven and bake for about 20-25 minutes or until a knife comes out clean.
Set aside to cool completely.
Now for the filling...
Not only did I fill this cake with cherry pie filling but I surrounded it with Hershey's Chocolate Fudge Frosting...it's the recipe on the back label...and it is the best chocolate frosting I've had, ever. If you use a box mix for the cake, at least make this frosting. It's too damn easy and so damn good.
Hershey's Chocolate Fudge Frosting
- 1 stick of butter, melted
- 2/3 cup of cocoa powder
- 1 tsp vanilla
- 1/3 cup of milk
- 3 cups of powdered sugar
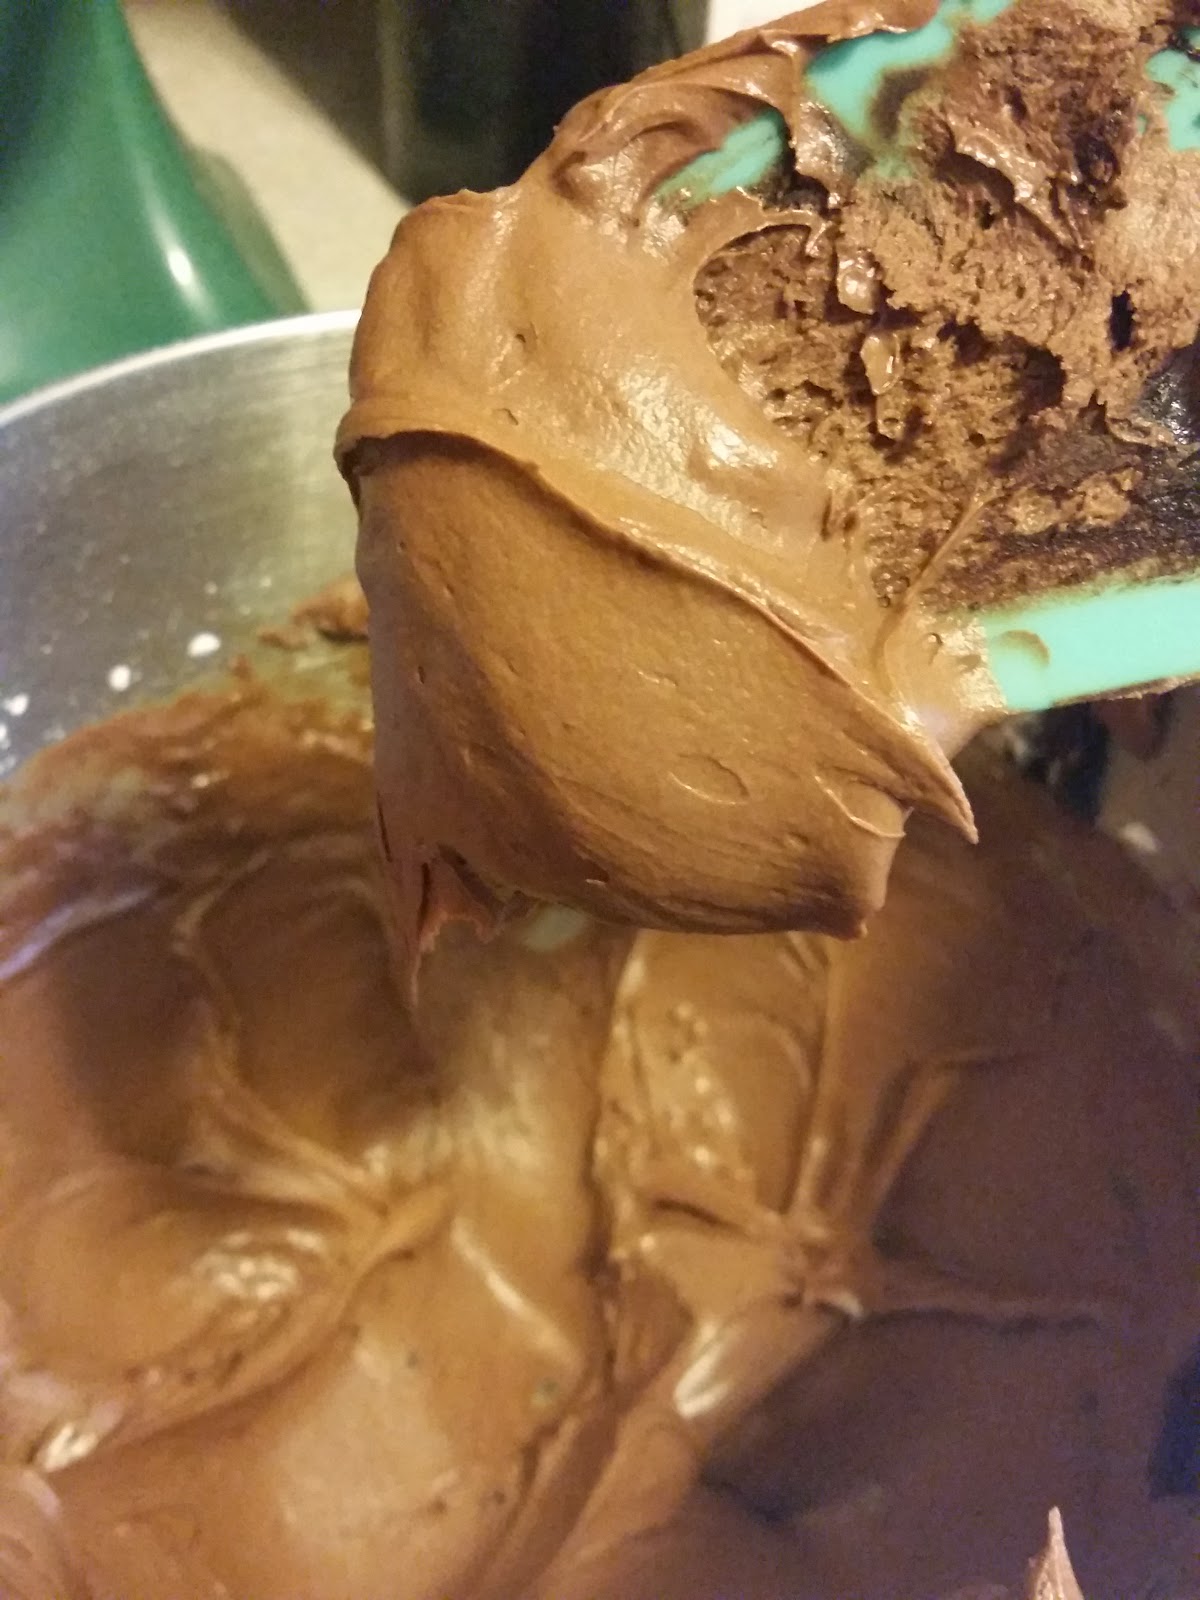 I melt my stick of butter in a glass pyrex measuring cup, then add my cocoa powder. Stir together. It will be a really thick chocolate paste. As tempted as you may be to try to it, don't! It contains zero sugar so tastes really bitter.
Add this to your mixing bowl. Add your vanilla and beat away. I alternate adding my sugar and milk so I get the right consistency. I taste it often to see if it needs more sugar or not. Sometimes I add a bit more milk if I need a smoother frosting. *Unlike making a cake batter, you can beat the hell out of frosting, as my mom would say. The compliments I usually get on my cupcakes are always about the frosting. The key is real butter, I use salted, and whipping it for a while on high.
For the outside frosting I made cream cheese. My other favorite dessert is cheese cake with cherries so of course I had to find a way to fit it in too.
Cream Cheese Frosting
- 1 package cream cheese, softened
- 2 1/2 stick of butter, softened
- 3-4 cups powdered sugar
- 2 tsp milk
- 1 tsp vanilla
Beat the cream cheese first, making sure it's smooth enough.
Add your butter in smaller quantities, about 3 tablespoons at a time to let it incorporate with the cream cheese. Once it's all combined, add the vanilla. Alternate your sugar and milk until you get the taste and consistency you like.
Now the hard part...assembly...
You can use the cakes just as they are, or trim them to make them more level. I did not trim them but next time, I would. The filling oozed out a little on the sides, making it difficult to frost.
Whichever cake I use for the bottom, I turn it upside down so the flattest part will be the middle. I frosted a thin layer of the chocolate fudge frosting, then added the cherry filling.

For the top part of the cake, I frosted the top of it so the flattest part would be the very top of my cake. I turned this upside down so the chocolate frosting was face down on top of the cherry filling.
Any excess chocolate frosting I used around the sides to help hold the cherries in place.
For the final frosting on the outside, I dumped a huge pile of the cream cheese frosting in the center of the cake. A long thin frosting knife will work best for this. When frosting, don't move our knife side to side! Always frost in the same direction or you will end up "picking up" your cake and it will get crumbly.

You want to carefully push the frosting from the middle of the cake to the outer edges. I spin mine as I go. There's no need to go back and forth, just rotate the cake keeping the knife steady as you carefully push the frosting towards the edge.
Once you're happy with the top, start pushing the frosting down the sides of the cake, always rotating it. Just keep spinning the cake holding your knife steady, staying in the same direction. Don't worry if it doesn't look perfect! We're gonna cover the sides up with graham cracker crumbs anyways! Any imperfections can be creatively "covered up."
If you want to have a really smooth top to your cake, the one important trick I learned "way back when" in cake decorating class was to use a hot knife. You can either keep a tall glass filled with hot water or just run your knife under hot water to heat it up. Wipe it dry and go over your cake again, using the same rotating motion. The heat from the knife slightly melts the frosting to make it smooth as silk.

I love to incorporate graham crackers for an extra crunch. Just smash some in a ziploc baggies and throw against the sides of your cake. Or you can put some in your hand and pat it on, but throwing it is just so much more fun and messy.
I had some extra cream cheese frosting I piped on along with some cherries.
Wipe down the edges of your cake dish and refrigerate until you're ready to eat!

Happy Birthday to Me!


