Thursday, February 27, 2014

Save the 'Nanas!

I went grocery shopping the last weekend. On a Sunday. Around noon. Worst. Time. Ever.  Normally, I would ask my husband to come with me but knowing what madness lie ahead, I decided it wasn't the best idea. He likes to wander aimlessly through the aisles with me tossing the hand held scanner as high as he can in the air...not as productive as I need him to be sometimes ;)

I know exactly what I need and have repeated the list in my head over and over so I can navigate through the store as quickly as I can.  I find whatever spot I can, grab my bags and rush inside ready for battle. Produce is always the first stop. Bananas. I need bananas. The only fruit I can get my husband to eat because you can put peanut butter on it. And chocolate...and sprinkles.

Of course I go the store after the mad rush of people and there's hardly any left and the ones that are, are all bright green.  I buy them anyways since, eventually they will ripen and turn yellow. Right?  Four days later, they are mostly dark brown. Never turned the slightest shade of yellow...just brown. But, I do not throw them away.  Most people would immediately put them in the garbage but I see it as baking opportunity.
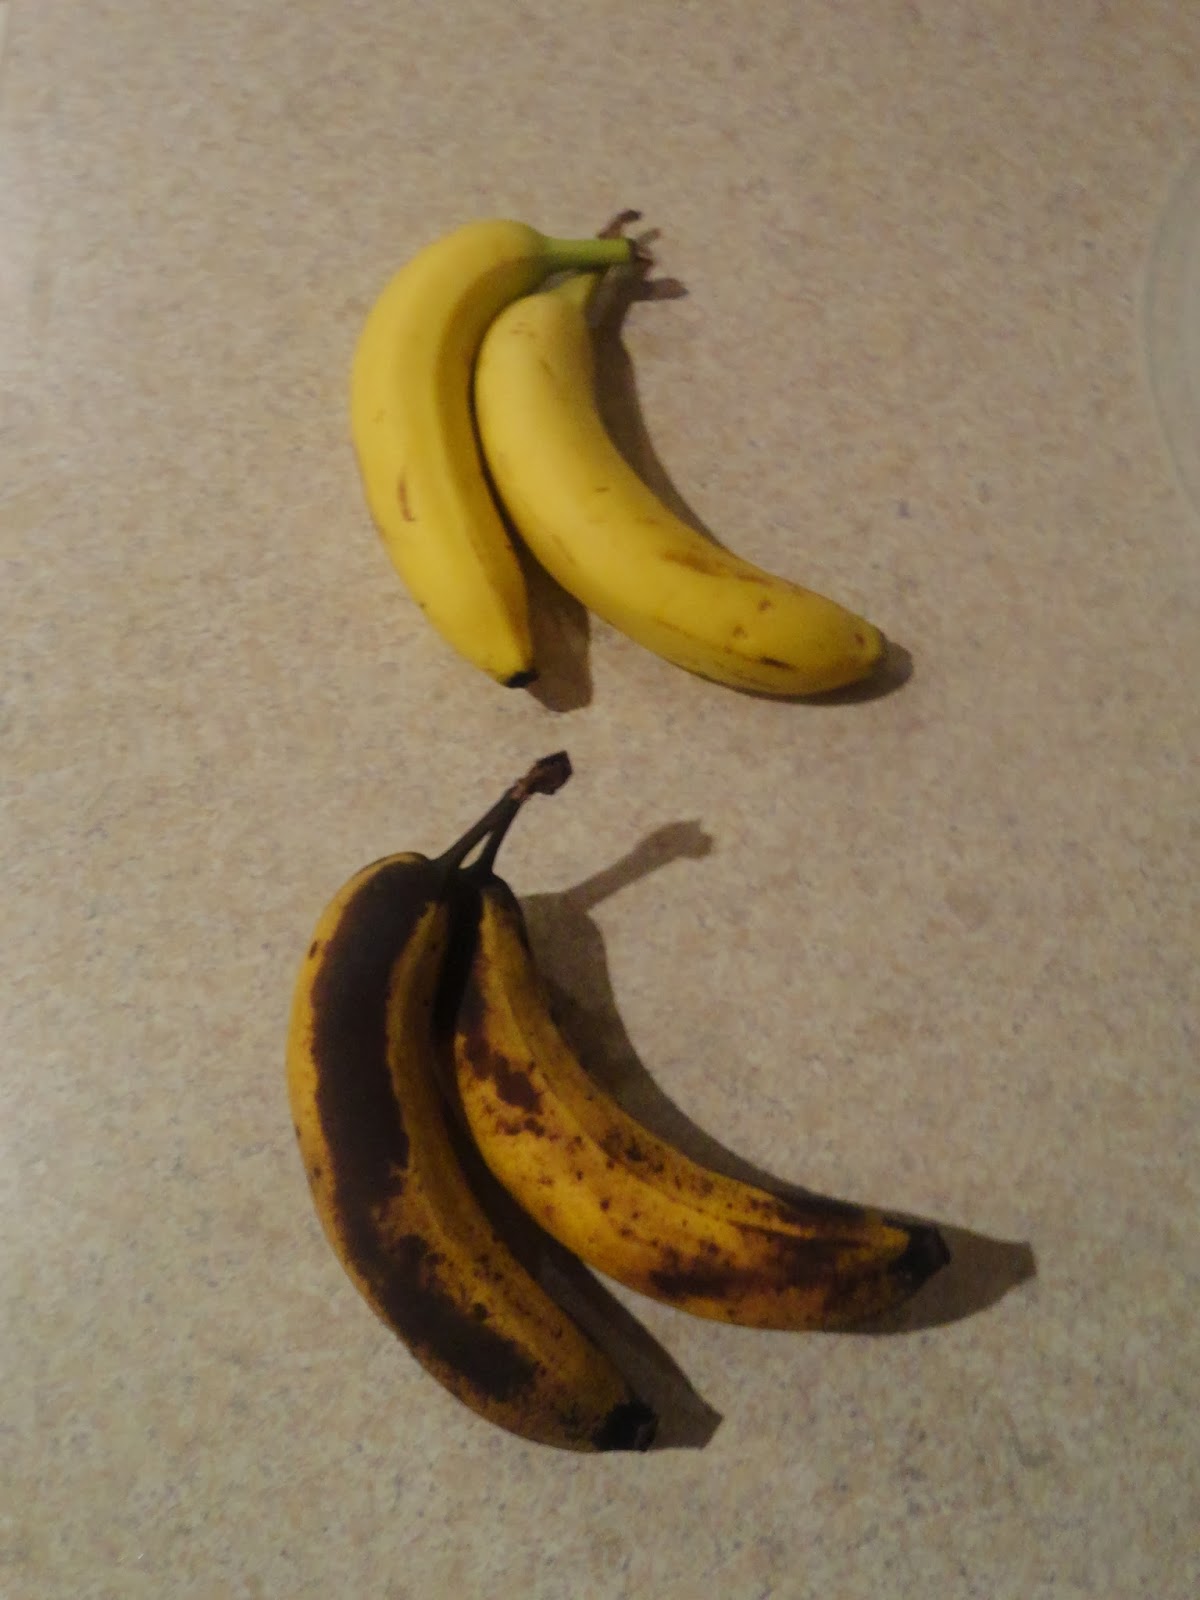
Yellow is for eating. Black is for baking. :) 

I say the darker the better. When it comes to baking with bananas, they should be overripe. Yes, those ugly bananas with their black spots and all make THE perfect banana flavor to bake with.  First thought was to make the Banana Cake with cream cheese frosting covered in toasted pecans that I made for Thanksgiving.  I have no cream cheese and this cake MUST be made with cream cheese frosting just cuz it tastes so good.  Next...banana muffins.  I never eat breakfast and my husband is constantly running around at work so doesn't have time to eat. Banana muffins will be perfect and last through the week.


Banana Muffins
Makes 12 regular sized muffins 
or 36 minis
adapted from Ms. Betty C

1 3/4 cup flour
1/2 cup sugar
2 tps baking powder
1 tsp baking soda
2-3 overripe bananas, mashed
1/4 vegetable oil
3/4 milk
1 egg
1 tsp vanilla extract
*add nuts if you want

 Preheat oven to 350. Fill your baking pans with paper liners.

Combine flour, sugar, baking powder, and baking soda in a mixing bowl.

Combine oil and milk in a measuring cup. (*tip 1/4 + 3/4= 1 cup of liquid. no need for separate measuring cups!)  Add the vanilla and egg.  Whisk until incorporated. Add mashed banana. 

Pour liquid ingredients into dry ingredients. Stir until just combined. DO NOT OVER MIX YOUR MUFFINS! *often over mixing a batter will result in a dense and dry product...like a brick.

Scoop into liners 2/3 of the way. I topped mine with a little cinnamon and sugar, which I keep already mixed in a container in my baking cabinet. Bake until the edges are just golden brown. Did I mention I never use timers either...unless it's brownies. I always screw up baking brownies.
 

These muffins rise so nicely and came out just moist enough. The original recipe had WAY less sugar which is why I upped it to 1/2 cup but that still may not be sweet enough for your taste buds. It wasn't for my husband, but he still ate them.  If you like a sweet muffin like from the store, you may want to add more sugar probably about 1 cup.
 
If you don't eat all your muffins, give them away... Sharing is caring! Or you can throw them in the freezer and take them out as you want to eat them. On the subject if freezing...unfortunately, ready to bake bananas do not work well frozen. I mashed some up once and put them in a container in the freezer hoping I could use them the following week, but they turned all black and gross. Fail. 

So save your 'nanas! Banana Bread! Banana Muffins! Banana Pancakes! Banana Shakes!

You can also make Blueberry Muffins...
Omit the bananas. Add 1 pint of fresh blueberries, replace vanilla with fresh lemon juice, add 2 tsp of finely chopped lemon rind. 

Or add Crumble Topping...
1/3 cup brown sugar, 2 TBS flour, 1 tsp cinnamon, 4 TBS butter. Use a pastry blender or a fork to combine all ingredients until crumbly. Sprinkle on muffins before baking.


Saturday, February 15, 2014

$#%t! There's No More Pancake Mix!?!

Here's a perfect example of how my meals come into being.  Yesterday was Valentine's Day. My husband is a hopeless romantic and I am not. He came home after a hard day at work with a card and chocolates and I got him...nothin'.  I guess I'm just not into the commercialism of the holiday.

This morning I said I would make it up to him by heart shaped pancakes. I never make breakfast by the way. I prefer my breakfast in liquid form with cream and sugar. I go to my cabinet and pull out the box of pancake mix. Yes, there are a few things I will buy premade, or accept if they are given to me by my shopoholic coupon wielding Noni.   There was about 1/2 cup of mix left, definitely not enough to feed my 220lb husband and I.  Most people's first reaction would be to immediately get into the car and drive to the nearest market to buy more pancake mix so you don't further dissappoint your significant other.  Me on the other hand, go to my ol' reliable Betty Crocker cookbook, which I "borrowed" from my mother-in-law years ago, and find a recipe for Buttermilk Pancakes.  Any home cook will have all the necessary ingredient for pancakes.  And fortunately for me, I made a crap load of cupcakes the day before and have lots of buttermilk left over.  But if you don't have buttermilk, no worries! Milk + Vinegar = Sour Milk aka Buttermilk. 

Here is the recipe adapted from Ms. Betty Crocker:

Buttermilk Pancakes
Makes about 12-15 pancakes

1 3/4 cups all purpose flour
2 TBS sugar
1 tsp vanilla
2  tsp baking powder
1/2 tsp baking soda
1 egg
2 cups buttermilk
3 TBS oil
* if you don't have buttermilk, substitute 1 2/3 cup milk plus 1/3 cup vinegar

Combine dry ingredients in a bowl. Combine wet ingredients in a separate bowl. Add wet to dry and mix until incorporated.  Batter should be smooth.


Heat pan on stove over medium heat.  I use my cupcake scooper and poured the batter into heart shapes. Once the sides bubble up, it's time to flip. I made the whole bowl of batter and kept them in the warmer of my oven till I was finished.


So I now have my heart shaped pancakes as promised one day short of Valentine's Day. I set the table, cook some sausages and all we need is the syrup. Syrup?! Where the hell is the syrup? I just made these awesome homemade pancakes and cannot find any syrup beside about 1/4 of inch left at the bottom of Mrs. Butterworth's apron. I do not believe Betty has a recipe for instant homemade syrup. We do have some trees in our yard we've always wanted to tap....so I immediately threw on my boots and jacket, drove to the nearest store and overpaid for a brand new bottle of Aunt Jemima. She's no young and spunky Butterworth but after the dust was wiped off she got the job done. Totally better than what would have come out of a box.


Friday, February 14, 2014

The Red Velvet Mystery


So many people ask me why I don't have red velvet cupcakes on my menu. I simply don't like them. To me, red velvet is the most overrated cupcake flavor ever. I mean, who even knows what's in it. Is it a vanilla? Is it chocolate?  It's a flavor that comes in a bottle right? Like vanilla extract or something.

I have tried it many many times...even in the South where it originated...thinking each time I do, I'll finally realize what the hype is about....never happened. I've even made them from scratch several times still not happy with the bland taste it left in my mouth and odd coloring it... uhh ...left behind.  So let me break down what makes this confused little cupcake so enticing.

It starts with your typical ingredients..flour. Sugar. Eggs. A little cocoa. Then some red food coloring. And buttermilk. And then vinegar. Yes, vinegar. This definitely throws people off when they hear there is vinegar in their favorite cupcake. This is what makes a red velvet what it is.  The reactions of the vinegar and the buttermilk make tiny little pockets of air that help create a really moist cake. I personally do not like using food coloring so I am instantly turned off by this cupcake.  Adding food coloring to anything can dramatically alter it's taste (see my philosophy on cooking in my "about me").

I have been on a quest to create a red velvet cupcake I actually enjoy the taste of AND that does not contain artificial coloring. Enter littlehouseliving.com. A lovely site that somewhat mirrors my way of thinking about life and what my mom always taught me..."make do with what you have."

Here's my recipe adapted from Little House Living:

Red Velvet Cake Recipe

Makes 24 cupcakes
  • 2 ½ cups cake flour
  • 3 tablespoons cocoa powder (I use Hershey's)
  • 2 teaspoons baking powder
  • 1 cup salted butter
  • 1 tablespoon vanilla extract
  • 2 ½ cups sugar
  • 4 eggs
  • 1 cup milk
  • 1 cup beet puree (about 3-4 beets)
  • ½ cup + 2 tablespoons orange juice
  • 3 tablespoons white wine vinegar
Preheat oven to 350 degrees.

In the bowl of your stand mixer, cream together the butter, sugar, and vanilla. Add the eggs one at a time, beating well after each addition.

In a medium bowl, whisk together the flour, cocoa, salt and baking powder.

In another medium bowl, whisk together the milk, beet puree, orange juice and vinegar.

Add a third of the liquid ingredients, followed by a third of the dry ingredients, alternating wet and dry and mixing well after each addition.

Use your standard scooper and fill wrappers 2/3 of they way. Bake for about 18 minutes or until a toothpick comes out clean. Let cool then frost with Cream Cheese Frosting.


The cupcakes were a bit too moist which is why the liners begin to peel away. 
I wrapped the beets in tin foil and roasted in
the oven for about 45 minutes

 You may be thinking beets in a cupcake sounds kinda gross.  (*On a side note, beets have never entered my mouth, ever! My mom always ate them pickled and they reminded me of cranberry sauce out of the can, which I despise.) Beets were actually used traditionally by some bakers to naturally enhance the red tint created by combination of cocoa powder, vinegar and buttermilk.  The beautiful deep red of the beets made a perfect color for these cupcakes. The beets also help create a super moist cake. No one will ever suspect they're eating veggies in their cupcake!